The Small Cupboard…

Remember this cupboard with the missing legs that I picked up in a junk shop?

IMG_0666

I put it in the basement where it got buried under a pile of paint supplies, wood pieces and a little garbage. (gross, really?) When that part of the basement finally got cleaned up, and I could see it again, I pulled it out and finally started cleaning it up and prepping it for painting.

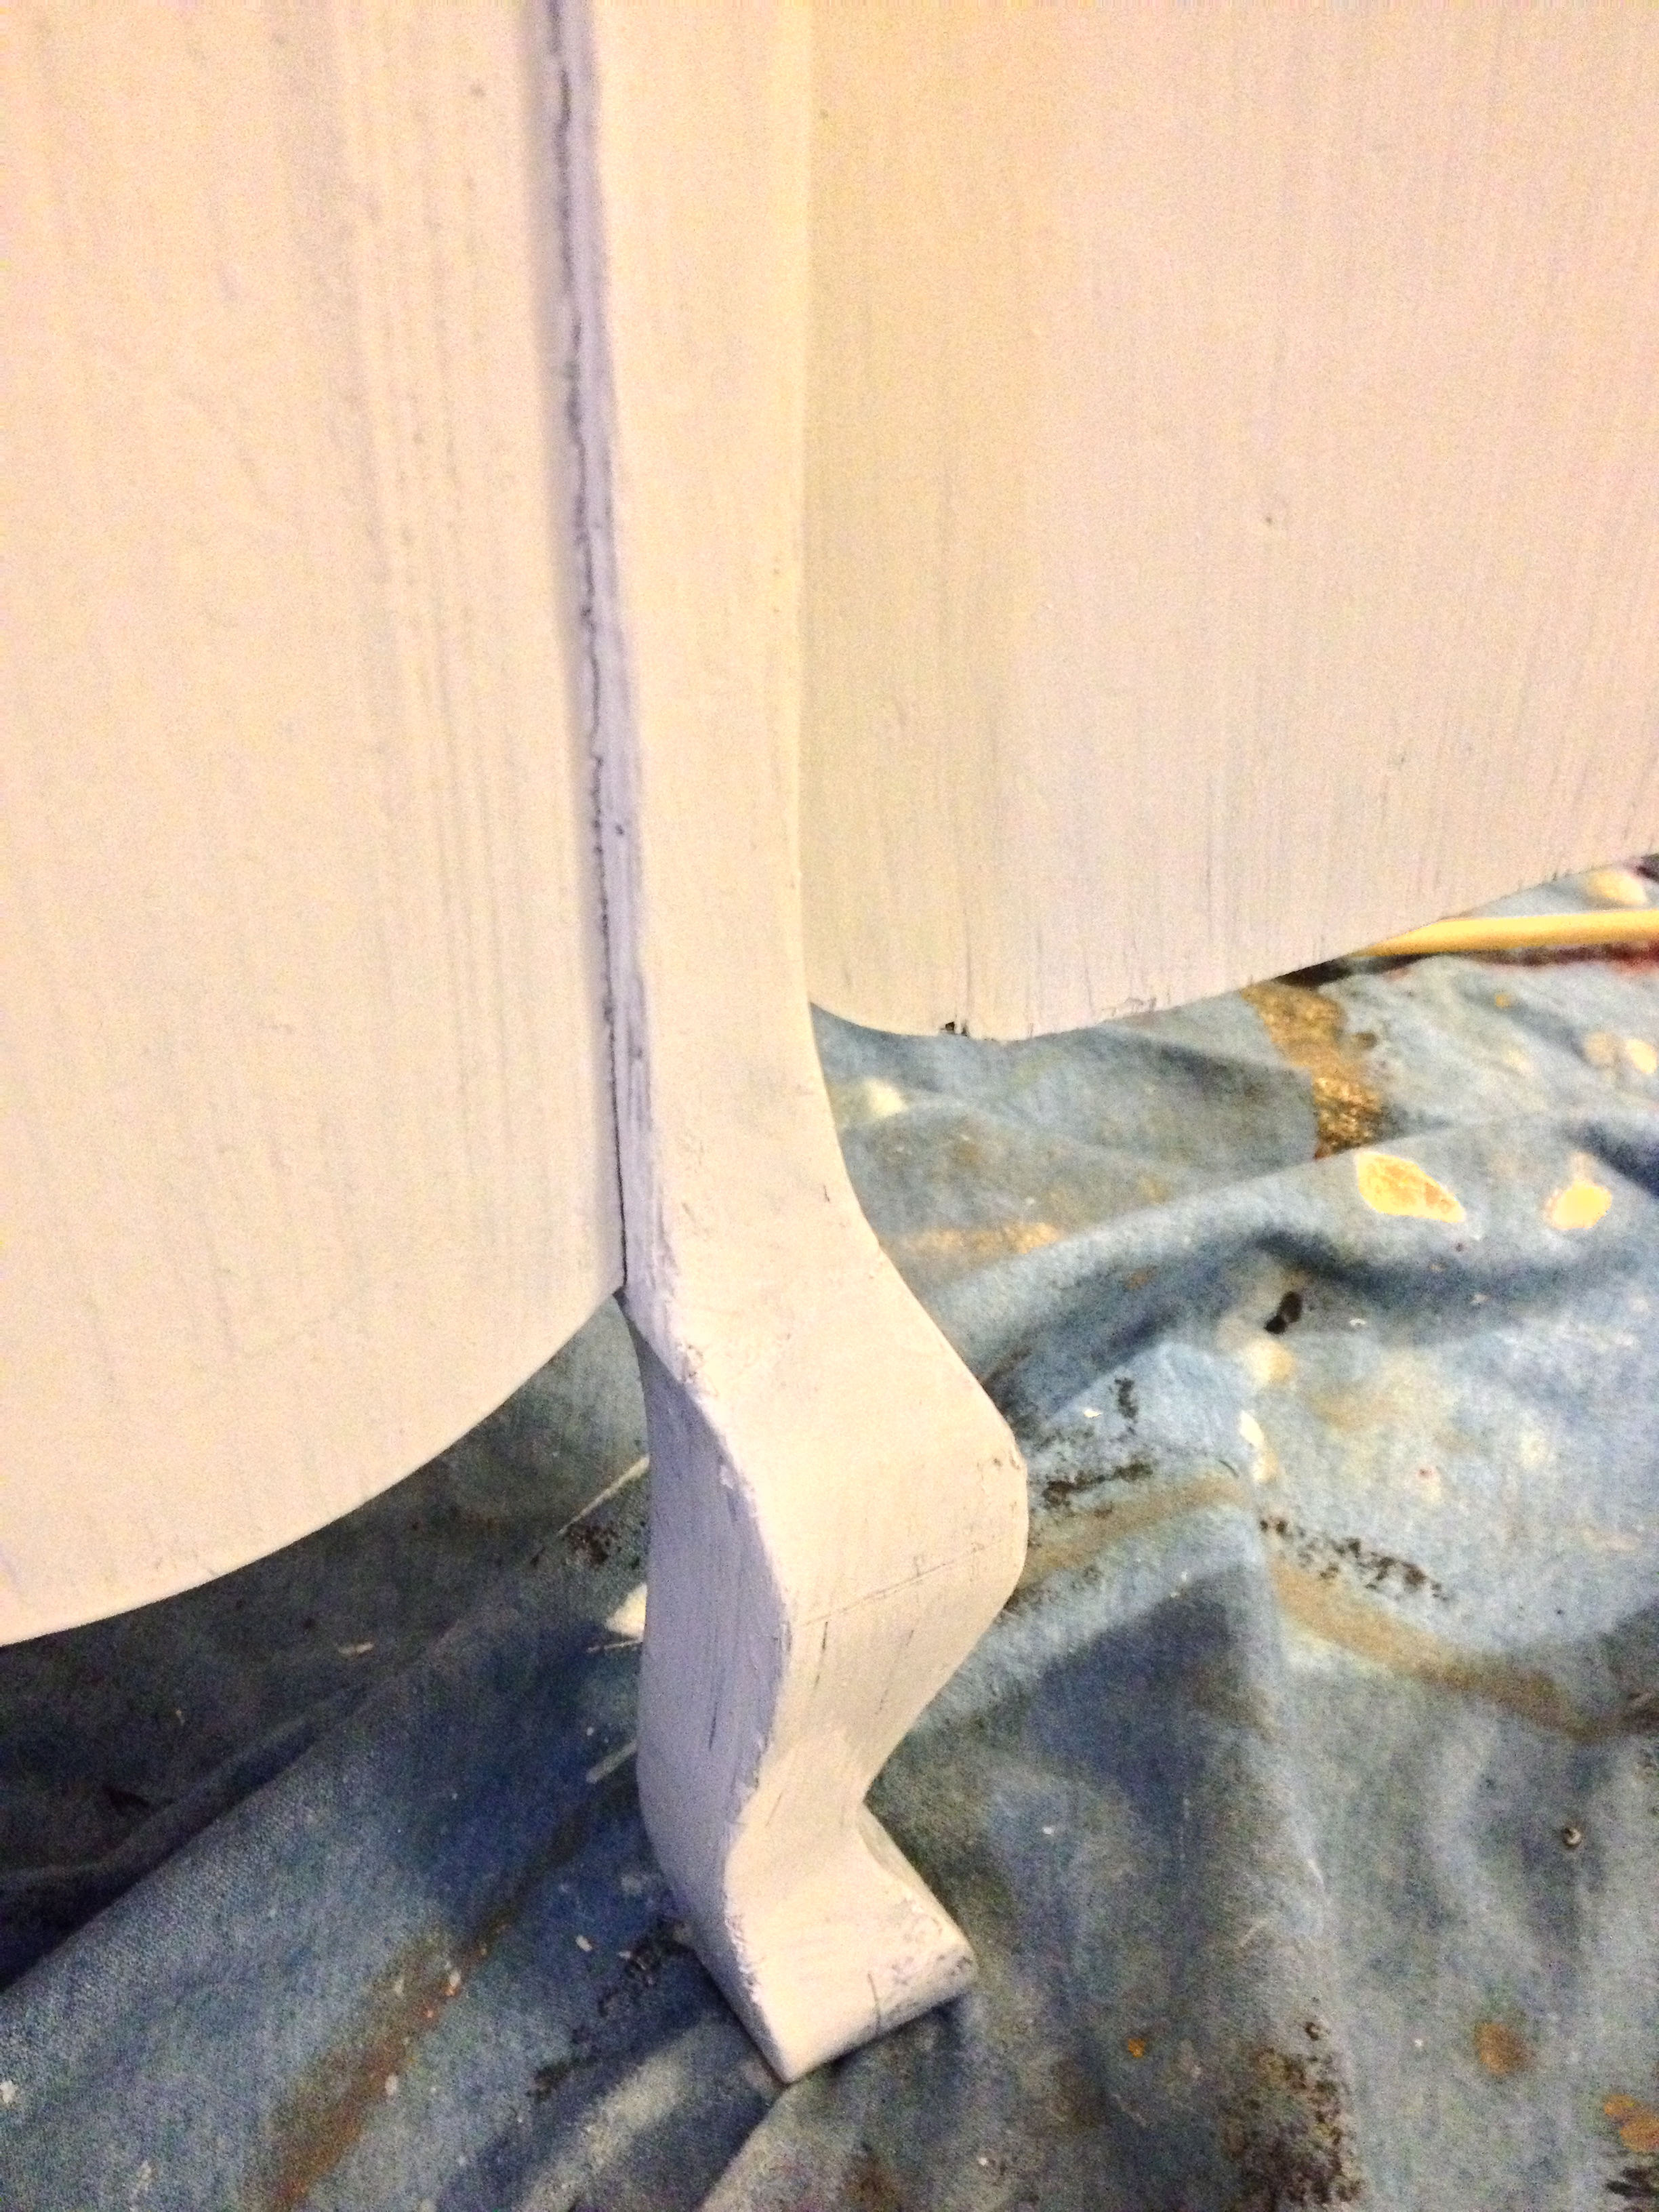
I started by adding legs…

IMG_0855

IMG_0854

Originally I was going to use curtain finials but when I was in the hardware store I found the things that go on the top of porch railings (sorry, I don’t know the technical term) for half the price of curtain finials, so out go the curtain finials from the cart and in go the porch rail things. They were rough wood so I put a coat of primer on before putting the paint on.

I was inspired by the color on this blue box I got from the girls at Vintage Junkies and knew that was the color I wanted to use on the cupboard.

IMG_0192
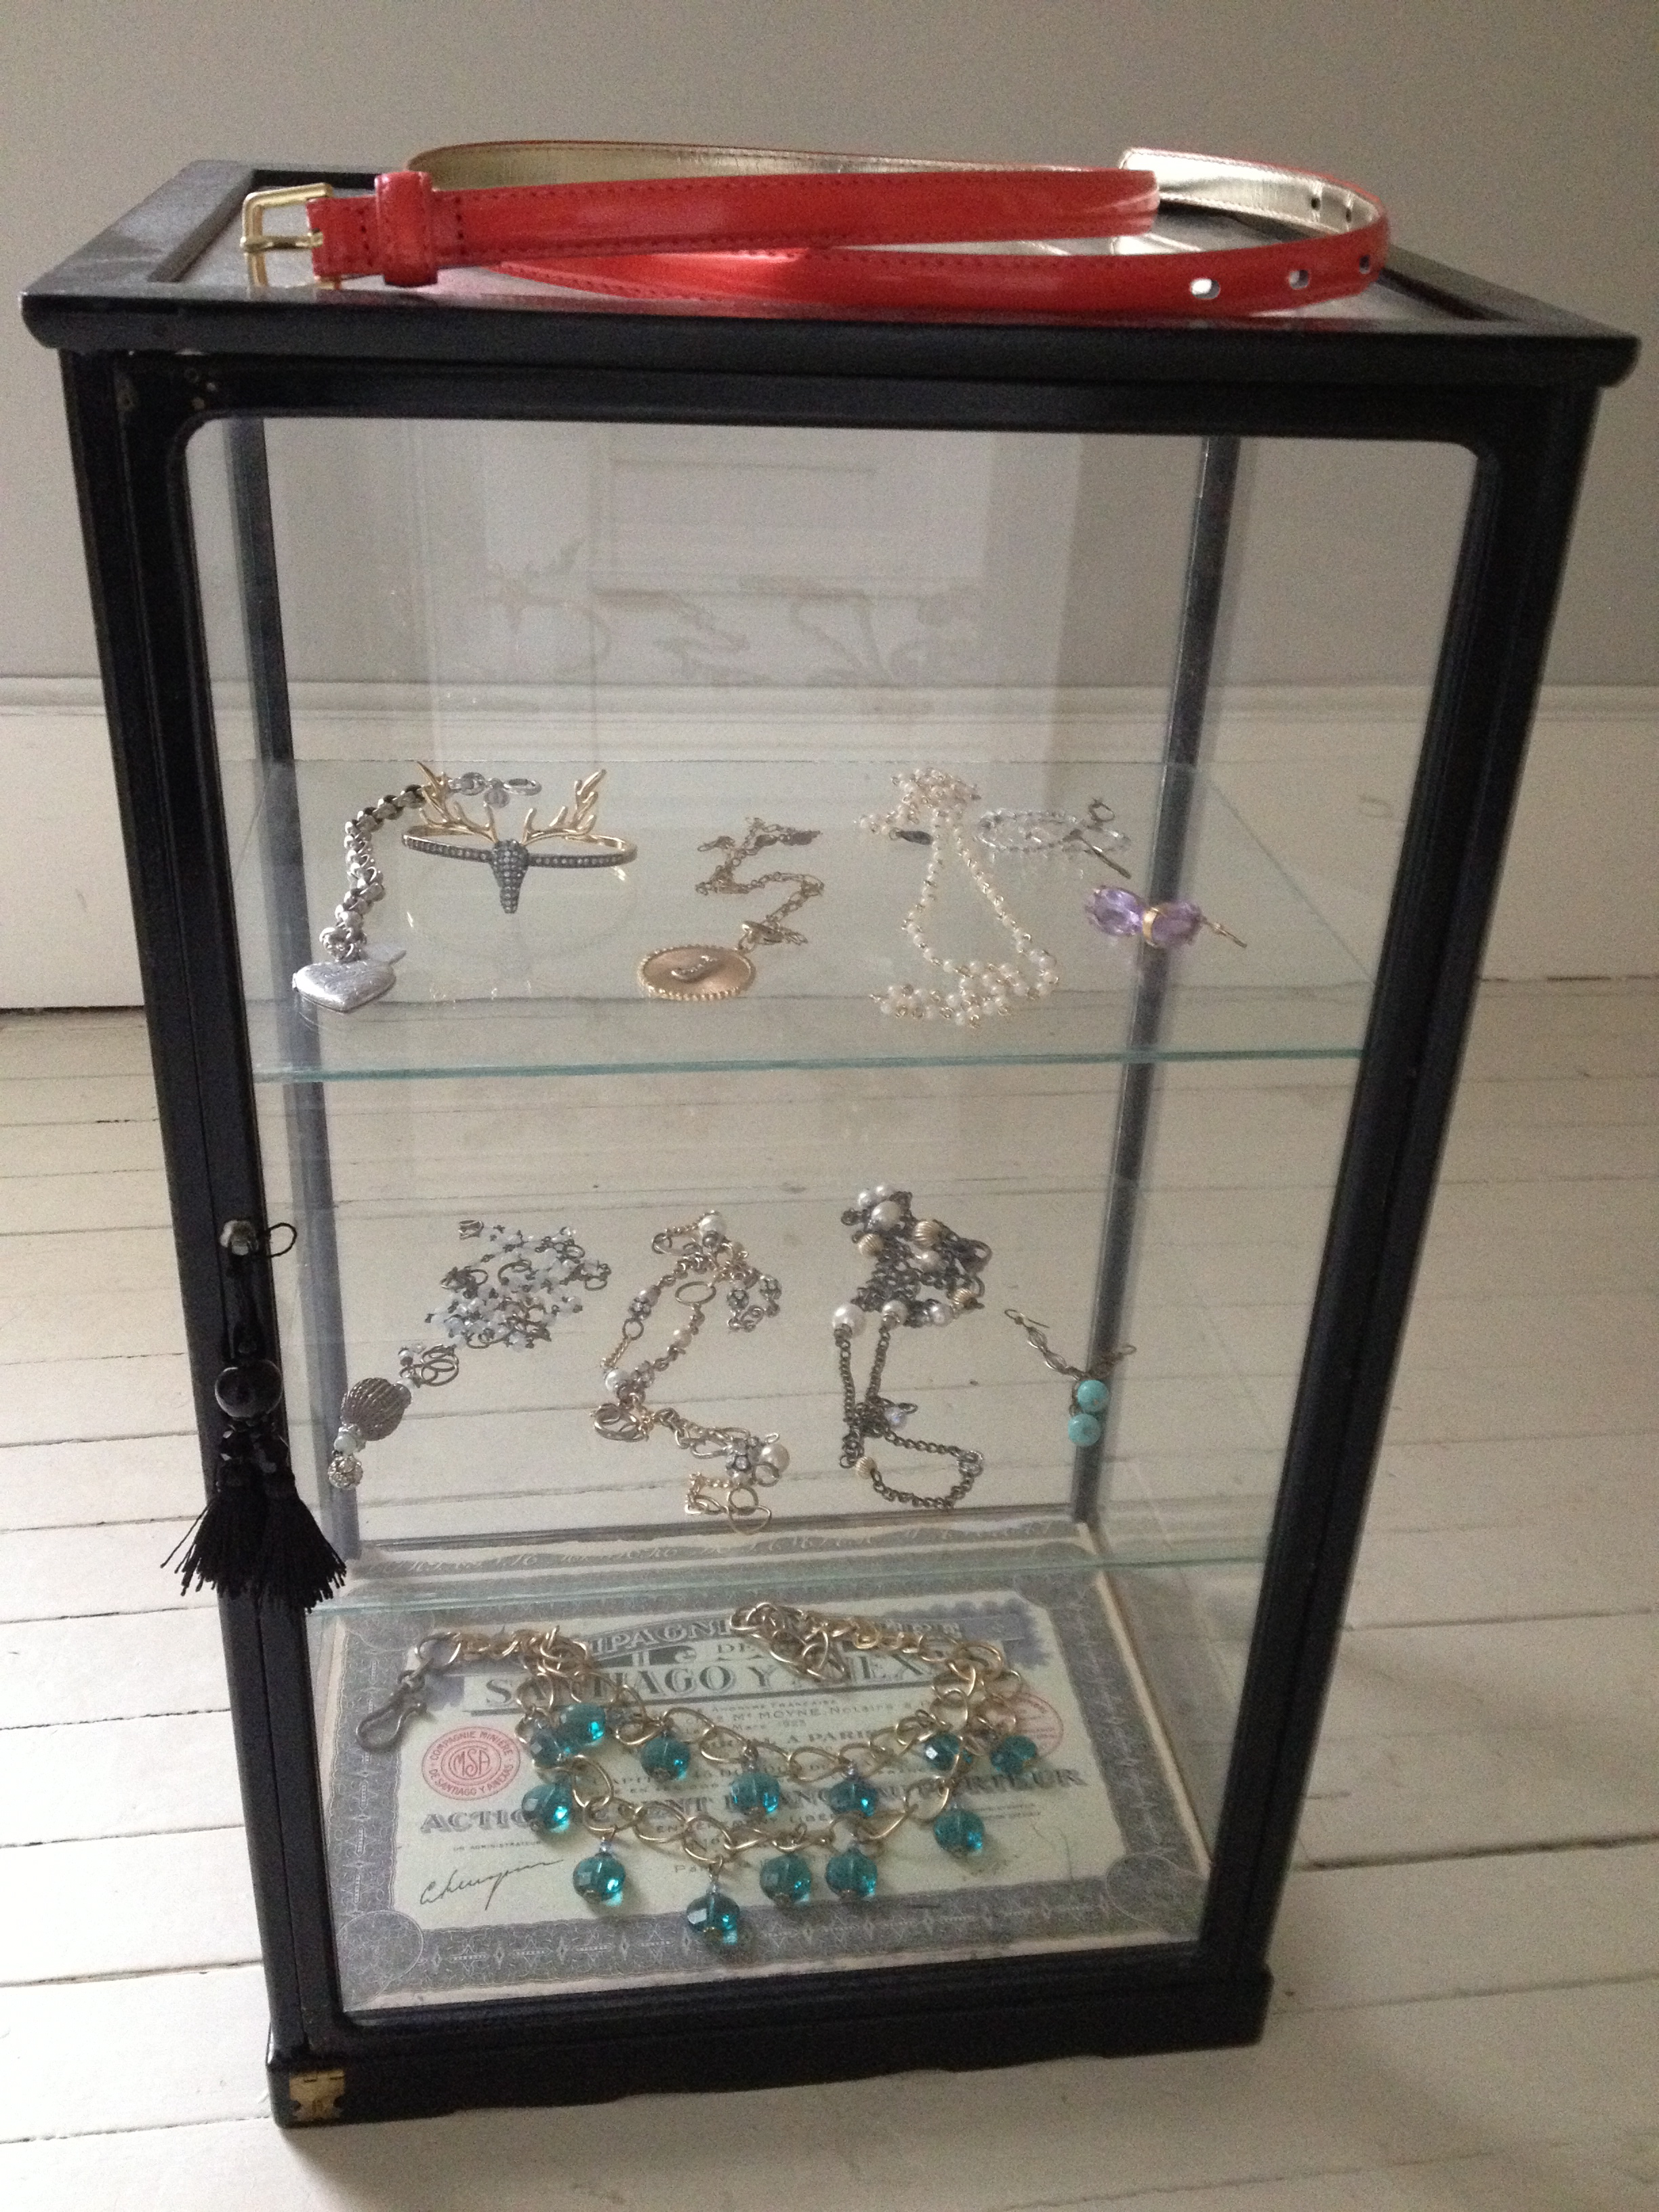
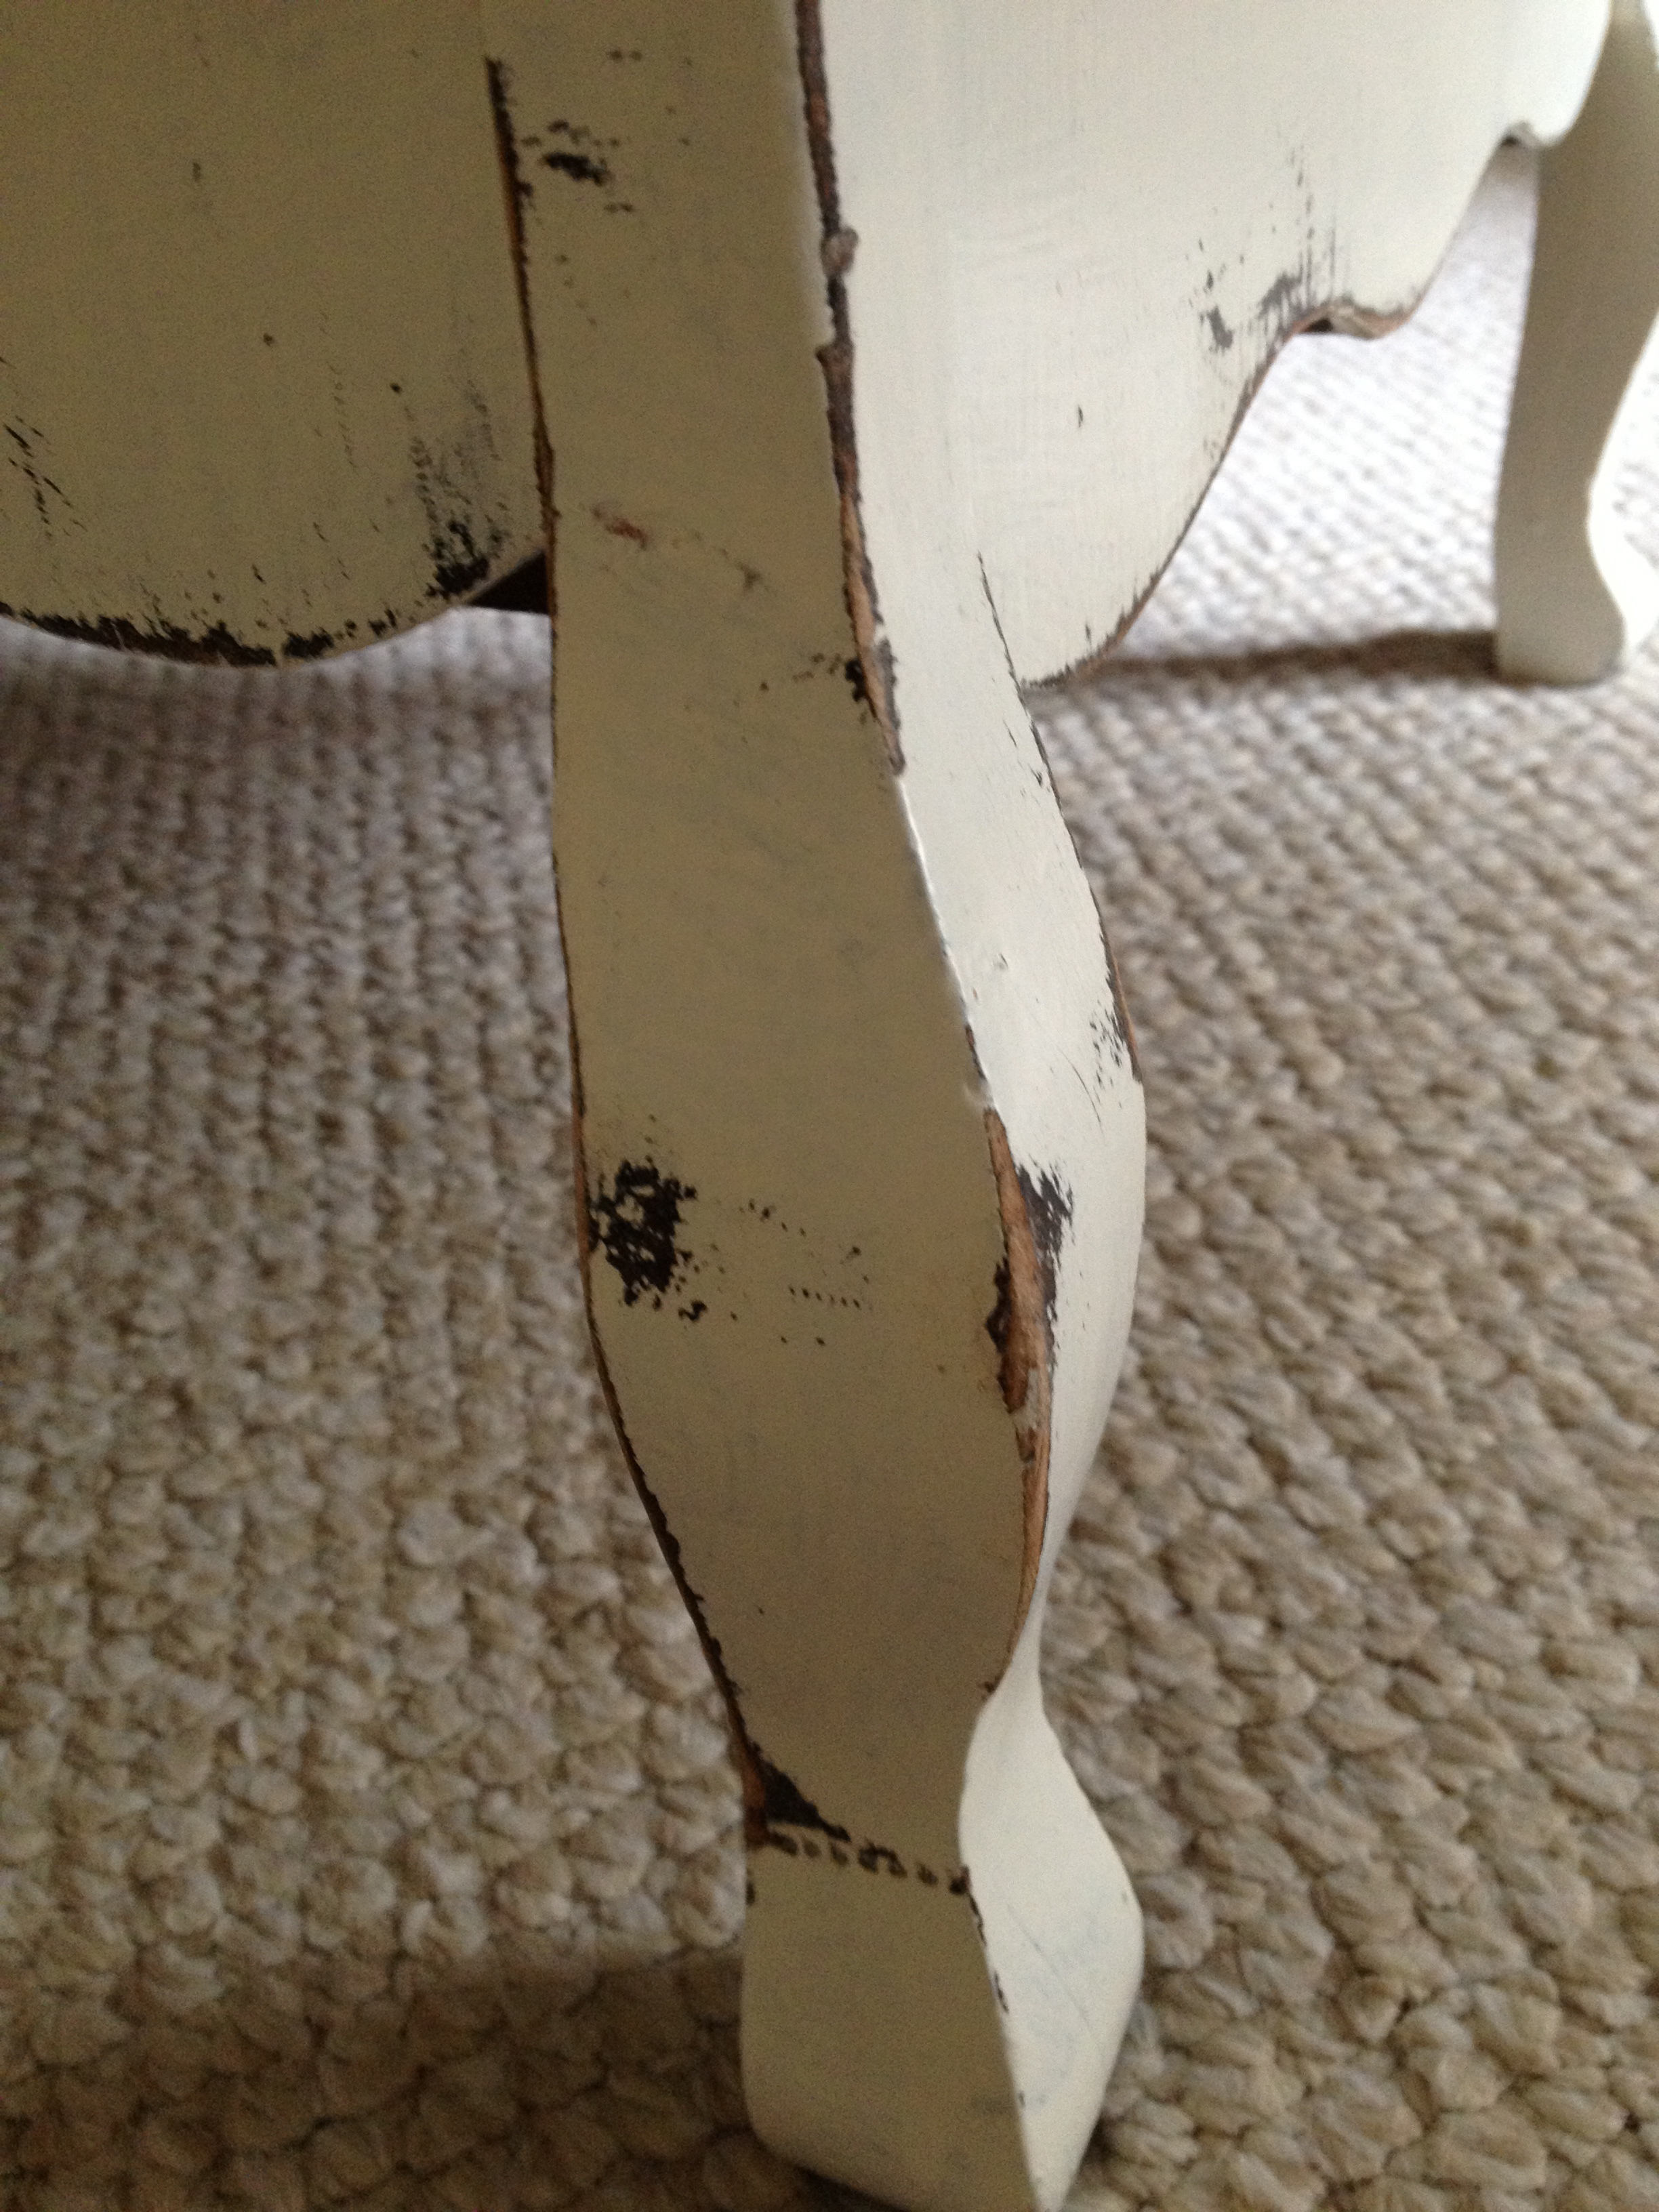
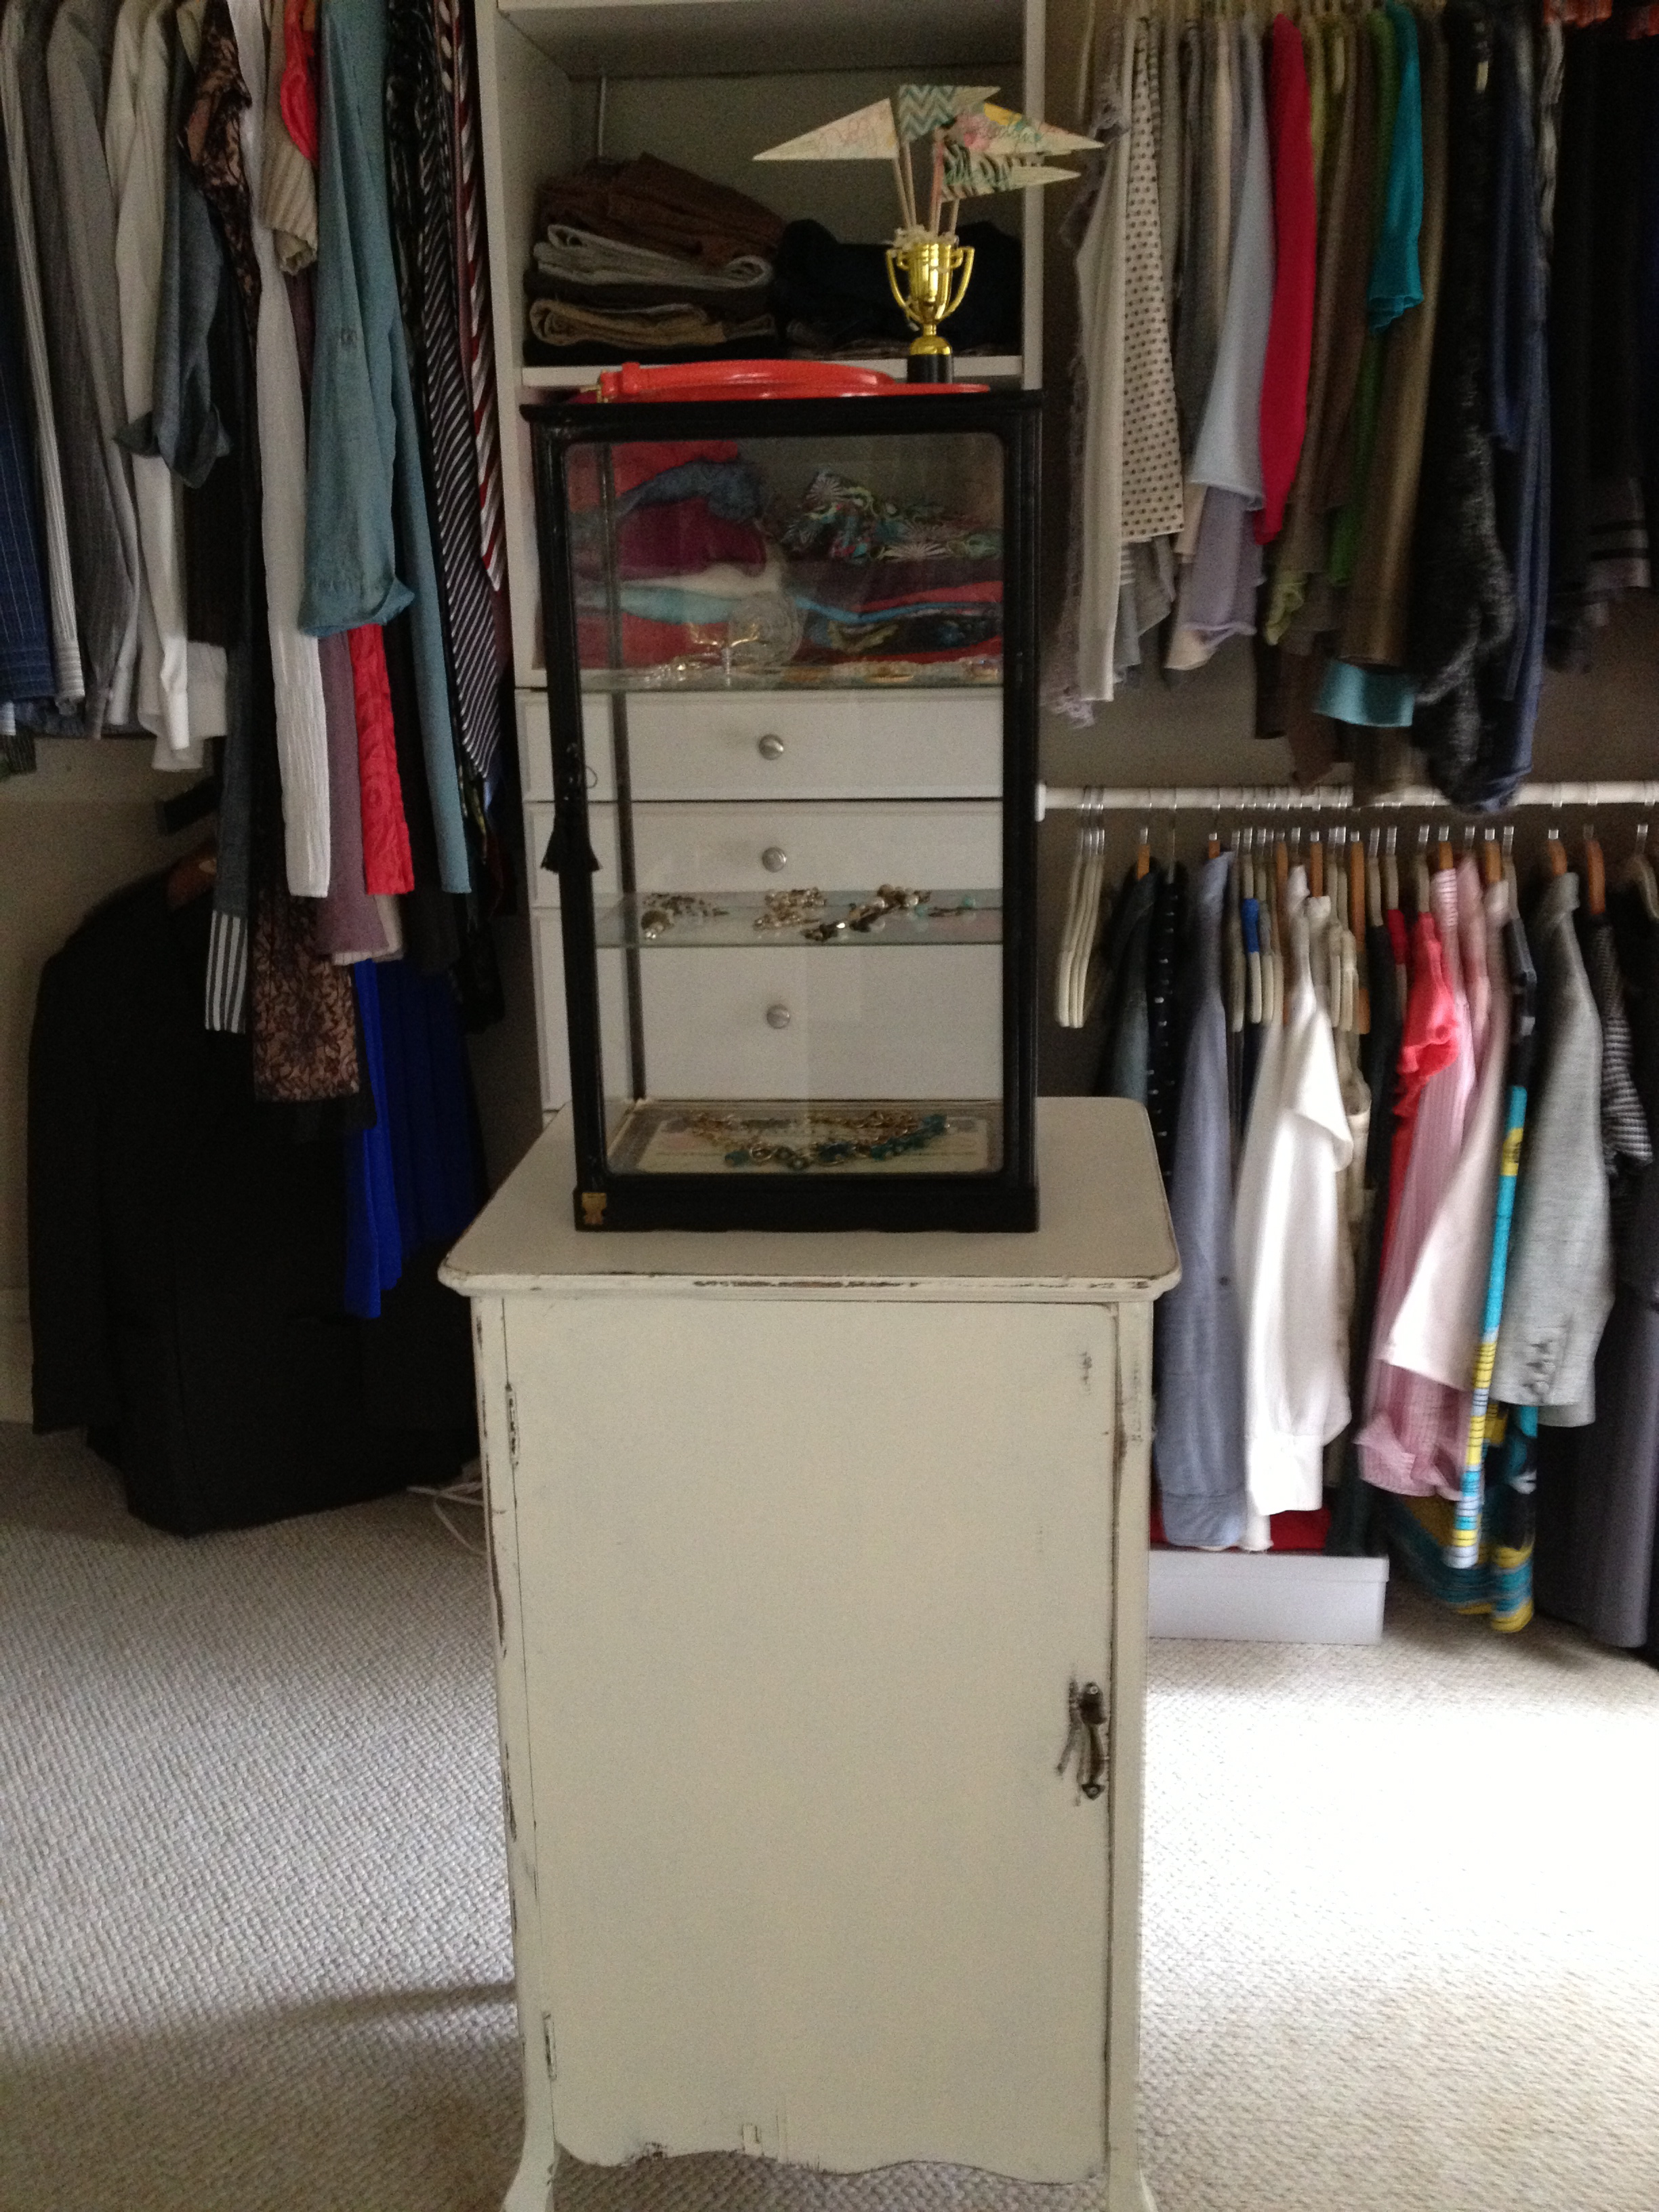
So here it is all painted, distressed and waxed…

IMG_0885

IMG_0888

IMG_0886

The back was missing from the cupboard and I need to add one still, but it was much easier to paint the inside without the back on.

Now I just need to decide if I’m keeping it or selling it…..

Another Day, Another Project

Projects always rear their heads when you have the least amount of time for them. Summer brings outdoor projects like gardening, painting, home repairs and lawn maintenance just to name a few.

A few postings back when I was talking about my closet, I mentioned that I wanted a piece to “float” in my closet with extra shelving for shoes or gym clothes. A piece I could put my glass jewelry display shelf on.

IMG_0325
I was out Saturday checking out yard sales and stopped by my favorite second hand shop and found this little cupboard that I thought may work. It was only $30 so if it didn’t work for me, I could sell it.

IMG_0478

It had a cute shape along the bottom and these charming queen anne legs.

IMG_0480

It had a dark stain and a few coats of oil based poly on top. Oil base can be tricky because the general rule is to cover oil with oil. There are a couple times that rule doesn’t apply. With chalk paint or milk paint. Or you could strip it and start over, but who has time for that, when you plan on painting it anyway?

Since I don’t have any milk or chalk paint in the house right now, I put a coat of oil base paint on top. Here is one coat done.

IMG_0484

IMG_0485
24 hours later and another coat of paint…

Then I sanded the edges and random spots for a worn look. I concentrated around the handle especially.

IMG_0489

IMG_0500

IMG_0501

My original thought was to throw out and replace the original knob. But after looking closer at it and realizing it has a latch that keeps the door shut and a very nice patina, I decided to keep it.

IMG_0481

IMG_0483

It looks striking against fresh white paint.

IMG_0488

I just need to find a tassel to hang from it!

The only way to truly see if a piece will work in a space is to put it there and live with it for a few days.

IMG_0496

IMG_0491

IMG_0497

So far, so good. The size feels right and I’m not banging into it in the morning. I need to get some baskets for the inside and decoupage the inside of the door with some fun paper.

Another project for another day…

Leave me a comment and let me know what projects you are working on…